Last updated: October 25, 2026
Quick Answer: To test your water pressure and flow rate for a sprinkler system, measure static pressure with a hose-thread gauge on a hose bib, then measure flow rate with a timed bucket test. Use the lower, verified number for planning. A 5-gallon bucket that fills in 30 seconds equals 10 gallons per minute.
A water pressure and flow rate test for a sprinkler system tells you two separate things before you design it: how hard the line pushes, in psi, and how much volume it can deliver, in gallons per minute. If you skip one of those numbers, the system may look fine on paper and still throw short, uneven spray patterns in the yard. For a basic homeowner check, the U.S. EPA WaterSense program recommends using a pressure gauge and a timed bucket test for irrigation planning. EPA WaterSense
Key takeaways
- Pressure and flow are not the same measurement, and a sprinkler design needs both.
- A simple psi gauge on a hose bib gives static pressure.
- A timed bucket fill gives flow rate in gallons per minute.
- The weakest verified reading you get from a hose bib is usually the number to design around.
- A clogged aerator, partially closed valve, or narrow hose can distort the result.
- This test is for planning, not for fixing pressure problems in the house.
What you need before you start
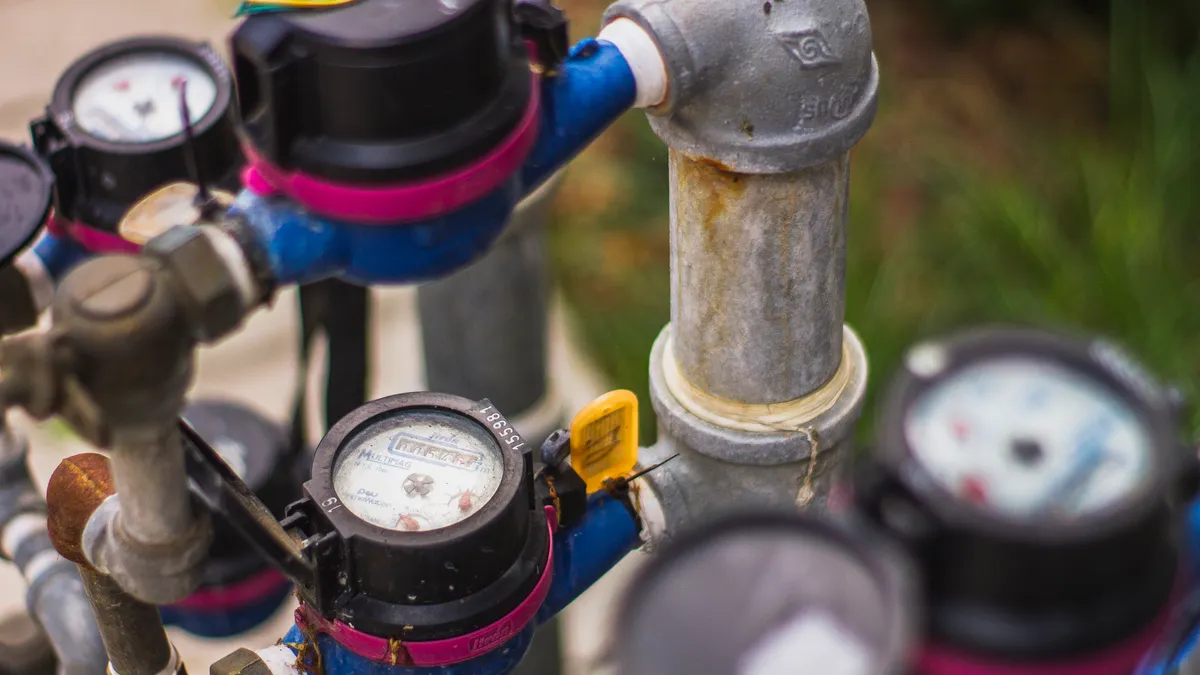
You need a 0–100 psi pressure gauge that threads onto a hose bib, a hose bib that serves the irrigation source, a 5-gallon bucket, and a watch or phone timer. A short garden hose helps if the spigot is awkward to reach, but it should be fully open and not kinked during the flow test.
Use a bucket with a marked volume if possible; if not, fill it with a measured container first so you know its capacity. A pressure gauge with a garden-hose connection is the usual tool here, not a plumbing test gauge with pipe threads. If the gauge face is hard to read or only shows a tiny range, replace it with one that reads clearly to at least 100 psi.
Pick a hose bib that feeds the area you plan to irrigate. A front-yard spigot and a backyard spigot can read differently if the plumbing branch changes between them. If the house has a pressure-reducing valve, pressure tank, or filtration system, leave the setup as it normally runs; the sprinkler system has to work with the actual source, not a stripped-down test bench. For broader planning after you know your numbers, this test fits into the larger system design and planning process.
How do I measure sprinkler water pressure at home?
You measure sprinkler water pressure at home by threading a psi gauge onto a hose bib and reading the gauge with no water flowing. That reading is static pressure, and it gives the baseline pressure available before any sprinkler zone opens. The EPA notes that irrigation planning starts with knowing that pressure number. EPA WaterSense
- Close nearby fixtures and hose valves. Make sure no toilet is filling and no other hose bib is running. When this works, the gauge reading will stop bouncing and settle instead of drifting.
- Screw the pressure gauge onto the hose bib by hand. Tighten it snugly, but do not use pliers unless the fitting is stubborn. A good seal means the gauge does not leak at the threads.
- Open the hose bib fully. Turn the handle all the way on so the line is not artificially throttled. The gauge needle should rise and hold steady within a few seconds.
- Read the psi with no water flowing anywhere else. This is the static pressure. Write it down, because that number is the cleanest snapshot of the supply and often changes after someone opens a fixture.
- Repeat the reading at another hose bib if the property has one. A second reading can reveal a pressure difference between the front and back of the house. If the two numbers are far apart, the irrigation source should use the lower one for planning.
- Open a nearby faucet while watching the gauge. The needle will usually drop. That drop shows how much pressure the plumbing loses when water is moving, which matters once sprinklers begin to run.
A homeowner does not need a special sprinkler controller or a pipe chart to get this first number. A gauge from a hardware store is enough if it reads steadily and has a hose-thread connection. The limit is that pressure alone does not tell you how many spray heads the line can support. A system built only from psi can still starve for volume.
How do I test flow rate with a hose bib?
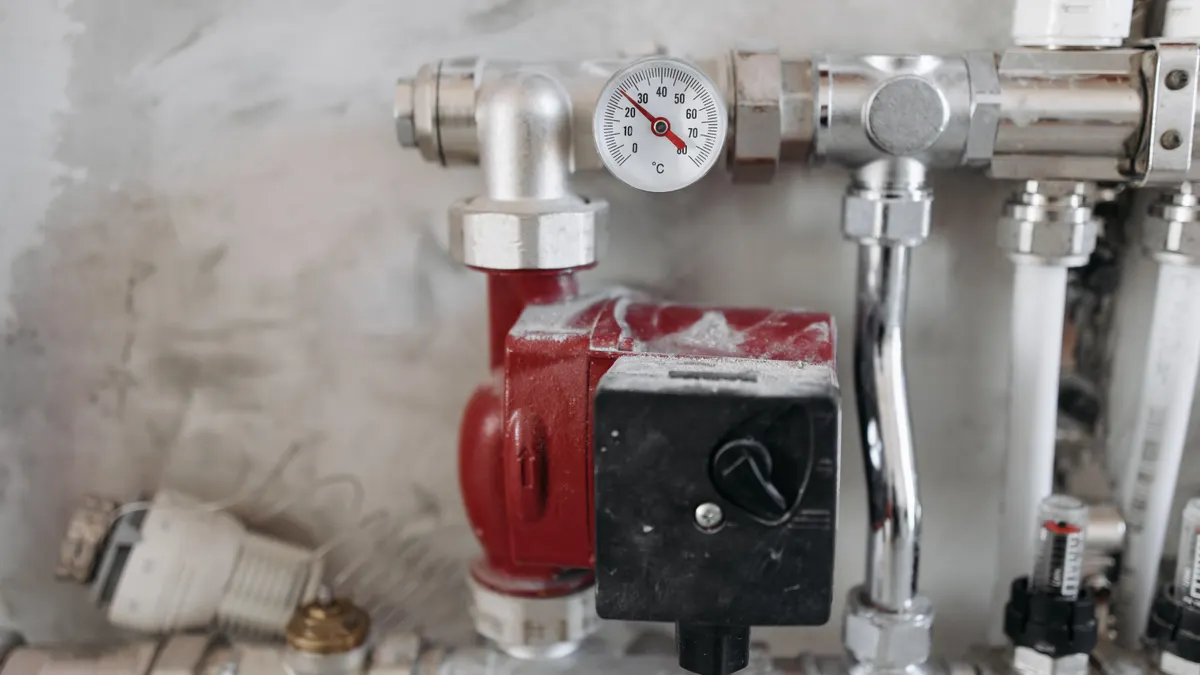
You test flow rate with a hose bib by timing how long it takes to fill a known bucket and converting that time to gallons per minute. That gives the practical output of the supply, and it is the number sprinkler layouts often fail to respect. The Irrigation Association describes this bucket-and-timer method as a standard field check. (Source: Irrigation Association)
- Use the same hose bib you used for the pressure reading. Consistency matters because another spigot may be on a different branch line. The bucket test should match the source you plan to use.
- Remove any nozzle, splitter, or restrictive attachment. You want the bib flowing directly into the bucket. If you leave a nozzle on, the result will be lower than the line can actually deliver.
- Turn the hose bib fully on. A partially opened valve can cut the result and make the system look weaker than it is. Full open is the standard setup for this test.
- Start the timer as the bucket begins to fill. Stop it the moment the bucket reaches the known mark, such as 5 gallons. If the bucket splashes, keep the water level as close as possible to the mark rather than guessing.
- Calculate gallons per minute. Divide the bucket size by the number of minutes it took to fill. For example, a 5-gallon bucket that fills in 30 seconds equals 10 gallons per minute. If it takes 1 minute, the flow rate is 5 gpm.
- Repeat the timed fill test two or three times. A stable result means the source is behaving consistently. If one reading is much higher or lower, something changed during the test, such as a hose kink or a partially opened valve.
The timed fill test is simple, but it has one weak spot: it measures what came out during that exact minute, not a perfect theoretical maximum. That is still the number that matters for sprinkler planning. If the house has several hose bibs, test the one closest to the intended irrigation connection and, if needed, the one farthest away. The lower flow reading is the safer planning number.
Why pressure and flow rate are separate numbers
Pressure and flow rate are separate because a line can show decent psi and still deliver too few gallons per minute. A sprinkler system needs both the push behind the water and the volume moving through the pipe.
Static pressure is measured in psi with the line closed. Flow rate is measured in gallons per minute while the line is open and running. A supply can read, for example, 60 psi on the gauge and still have a weak bucket test if the pipe is narrow, a valve is partially closed, or the plumbing branch is long and restrictive. The reverse also happens: a line can move a fair amount of water but at a pressure that drops too much once sprinklers start spraying.
That separation is why a single number from a gauge is never enough for design. A sprinkler head needs a pressure range to shape the spray, but a zone also needs enough total flow to run all the heads it contains. If the flow is too low, heads may pop up but not throw the expected distance. If the pressure is too low, coverage becomes ragged and some nozzles mist instead of spraying.
A useful rule for the homeowner is this: if the gauge reading and the bucket test both look modest, design conservatively and do not assume the bigger number is the real limit. The smaller reading usually exposes the bottleneck. This is the wrong job for guesswork because the cost of guessing is buying heads, pipe, and valves that cannot perform together.
Common mistakes that distort the result
The most common mistake is leaving a hose, nozzle, splitter, or quick-connect fitting on the bib during the bucket test. That restriction can shave the flow rate down and make a normal supply look weak. Test directly at the hose bib whenever possible.
Another mistake is reading pressure while another fixture is running. A shower, washing machine, or toilet fill can drag the psi gauge down and hide the true static number. The gauge should settle with the rest of the house quiet.
A third mistake is using a bucket of unknown size. A “5-gallon” pail that has never been verified may be off enough to mislead the gpm calculation. Mark the bucket first or fill it with a measured container so the volume is real.
People also forget to open the hose bib all the way. A partially open valve can reduce both pressure and flow, and the result looks worse than the supply really is. The handle should be fully open during both tests.
There is a trade-off to keep in mind: the cleanest test uses the exact source and exact setup the sprinkler system will use, but that also means the numbers may be lower than a quick casual check. That is not bad news. It is the number that prevents a design mistake. If the result seems oddly low, repeat the test once before assuming the supply is inadequate.
What to write down after the test
Write down static pressure, flow rate, the test location, and the conditions used. A plain note such as “back hose bib, 58 psi static, 8 gpm, no other fixtures running” is enough to make the numbers usable later.
Keep the readings separate. Do not turn 58 psi and 8 gpm into one blended guess. Those numbers answer different questions, and the sprinkler layout needs both. The static pressure helps set the operating baseline for the heads. The flow rate tells you how much water can run at once.
If you tested more than one hose bib, keep the lower pressure and lower flow values visible. That protects the design from relying on the best-case outlet by accident. It also helps later if the system is expanded or if a contractor asks where the irrigation source was measured.
If the results are much lower than expected, note whether the house has a pressure regulator, water softener, whole-house filter, or long run of pipe to the spigot. Those features can change the reading, and a future check can confirm whether the bottleneck is in the house plumbing or at the source. For a homeowner who is still at the planning stage, the point is not to solve every supply issue on the spot. The point is to know the actual starting numbers before buying parts.
When this test is enough, and when it is not
This test is enough for early sprinkler planning, shopping, and comparing zone ideas. It is not enough to redesign the home’s plumbing or diagnose a deep supply problem, so a licensed plumber or irrigation professional should look at the source if the gauge swings wildly, the hose bib leaks, or the line falls far below what the property seems to need.
The test is also not a substitute for pipe-sizing calculations, zone counts, or nozzle selection. Those belong to later design steps. A homeowner who already knows the system’s pressure and flow can move on with fewer surprises, but this page stops at measurement by design. It belongs in the same planning sequence as the other system design and planning decisions, not after the parts are already bought.
One practical judgment matters here: a simple bucket test and gauge reading are ideal for a capable homeowner, but they are not the right tool if the property has complex plumbing, a well system with cycling issues, or repeated pressure drops that suggest a mechanical problem. In those cases, the numbers are still useful, but the interpretation needs a professional.
How do I measure sprinkler water pressure at home?
You measure sprinkler water pressure at home with a hose-thread pressure gauge on a hose bib and read the gauge with no other water running. That gives static pressure in psi, which is the baseline number used before sprinkler design starts. A stable reading is the goal; a bouncing needle usually means something else is moving water in the house.
What is a good flow rate for irrigation?
A good flow rate for irrigation is the amount that supports the sprinkler zone you plan to build, not a universal number. The useful answer is the gallons per minute you actually measured at the hose bib. That figure tells you what the supply can deliver, and it should be treated as the planning limit unless a professional confirms otherwise.
Can I test water pressure with a hose bib?
Yes, a hose bib is the normal place to test water pressure for a sprinkler system. A pressure gauge threads directly onto the bib for the static reading, and the same bib can be used for the timed bucket fill test. If the bib is old, leaky, or restricted, the reading may need to be repeated at another outlet.
Drafted with AI; not yet reviewed by a person.