Last updated: October 11, 2026
Key Takeaways
- DIY fits simple, flat yards with few zones and a patient owner.
- DIY works best if you want control, have time, and will learn the layout before digging.
- Hiring a professional is stronger for difficult terrain, strict local rules, or a lighter workload.
- A comparison helps because the best choice varies by yard and budget.
Quick Answer: For a simple 1,500- to 2,000-square-foot yard, DIY irrigation installation can save hundreds to thousands of dollars; for sloped or code-heavy sites, hiring a professional is usually the safer buy. DIY irrigation installation is worth it only if you are comfortable digging, laying pipe, and correcting mistakes as you go; hiring a professional wins when your yard has slopes, mixed plant beds, clay soil, or a local permit/backflow requirement. I write on outdoor systems and home maintenance, and the decision usually comes down to three things: how even you need the coverage to be, how much time you can spend on trenches and troubleshooting, and whether you can afford one bad install to become a season of dead spots and leaks. According to the EPA’s WaterSense program, efficient irrigation can reduce outdoor water waste, and the U.S. Department of Energy notes that landscape water use can be a major share of household demand in dry periods.
The short answer: which choice fits which homeowner?
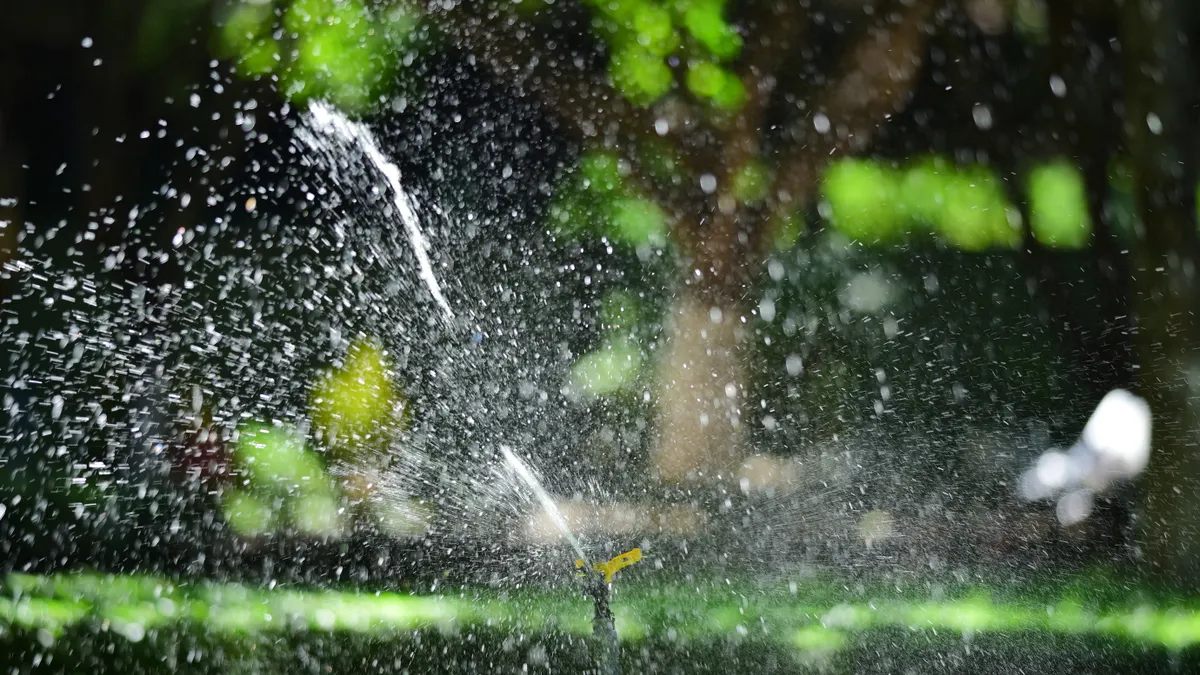
DIY wins for simple, flat yards with a small number of zones and a patient owner. Professional installation wins for most people who want the system to work the first time and not spend weekends chasing poor spray coverage.
The reason is simple: irrigation is not just “put pipe in ground.” A good system balances pressure, nozzle selection, head spacing, valve layout, trench depth, and controller settings. Miss one of those and you get overspray, dry strips, or zones that run too long. In many towns, a contractor also handles backflow prevention, local permit steps, and winterization planning. A homeowner can do all of that, but the margin for error is thin.
If the yard is under about 2,000 square feet, mostly rectangular, and the goal is basic lawn coverage, DIY is realistic for a careful person with a trenching tool, PVC cement or poly fittings, a shovel, and a weekend or three. If the property is larger, broken into odd shapes, or includes shrubs, flower beds, slopes, or a garden near hardscaping, I would usually steer the reader toward a pro. For example, WaterSense highlights that EPA WaterSense-labeled irrigation controllers can help reduce waste by adjusting run times to conditions.
One thing a generic article often misses: the cost difference is not only labor. A DIY system can become more expensive if you buy the wrong heads, undersize pipe, or redo zones after the first leak. A pro job costs more up front, but it often comes with a design that avoids those mistakes. In 2024, homeowners comparing irrigation projects often face that tradeoff before the first trench is dug.
DIY irrigation installation: who should actually do it?
DIY is the better choice if you want control, have time, and are willing to learn the layout before you dig.
The best DIY candidate is often a homeowner with:
- a straightforward lot
- low to moderate water pressure complexity
- access to the valve box, hose bib, or manifold area
- a willingness to map the yard and measure head-to-head spacing
- enough time to trench, glue, test, and repair
DIY makes sense because the labor is the expensive part of irrigation. The materials are manageable for many basic systems: controller, valves, pipe, heads, fittings, wire, and a backflow device if your local rules require one. The catch is that the “simple” part of the job is not the digging; it is getting the hydraulics right. A yard with 8-foot spray spacing in one area and 15-foot rotor spacing in another is easy to ruin if you buy parts by guesswork. In other words, a $300 material mistake can be more costly than it looks once you add rework.
The biggest weakness of DIY is consequence. A small slope can become runoff. A head set 2 inches too low can disappear under mulch. A zone with too many heads can drop pressure and leave half the lawn dry. Those problems are not cosmetic. They show up as higher bills, weak turf, and repeated repairs.
I would not recommend DIY if the project includes a municipal backflow permit, a difficult tie-in to an existing main line, or multiple soil types that change infiltration speed across the yard. Those are the jobs where a mistake can be hidden until the first hot week. If you are unsure about local rules, consult a licensed irrigation contractor or your city’s building office before you dig.
Hiring a professional: when paying for labor is the smarter move
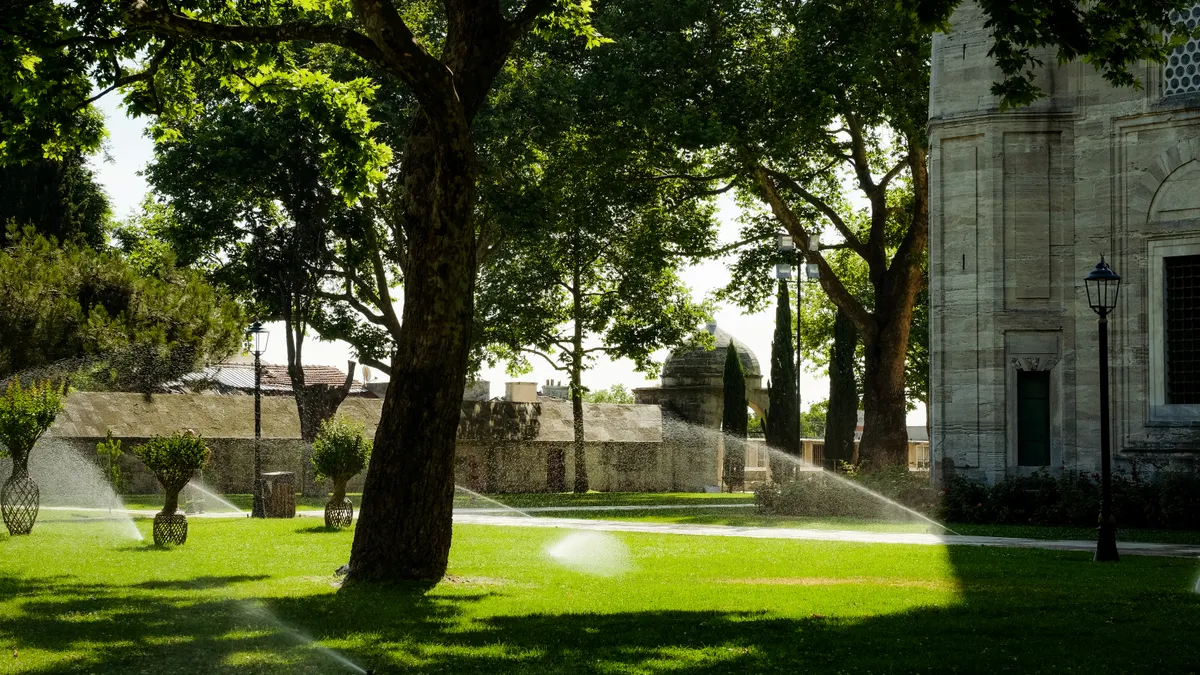
Hiring a professional wins when the system needs to work across difficult terrain, local code matters, or you want fewer moving parts on your plate.
A good irrigation contractor brings two things most homeowners do not: design judgment and speed. Design judgment matters because the contractor should account for pressure, precipitation rate, plant type, and zone grouping before the first trench is cut. Speed matters because a crew can often finish in a fraction of the time a homeowner needs to plan, buy, dig, correct, and retest. The EPA and local water utilities often recommend efficient scheduling because watering needs change by season and weather.
Professional installation is the stronger option for:
- larger lawns
- sloped or irregular lots
- established landscaping you do not want to damage
- systems that need drip irrigation for beds plus spray or rotary heads for turf
- towns with permit, inspection, or backflow testing requirements
The downside is obvious: you pay for labor and expertise. That can be hard to swallow on a small property. Another drawback is that not every installer designs well. A fast, sloppy contractor can create exactly the kind of uneven system that makes people wish they had done it themselves. That is why the right question is not “pro or DIY?” but “who is accountable if the first design is wrong?”
I would pick a professional if the job involves underground utility uncertainty, a shared water meter, a large tree root zone, or a yard where runoff would hit a driveway, foundation, or neighboring property. Those are expensive mistakes. Paying for judgment is cheaper than paying for rework. For code-heavy projects, check local permit rules and ask whether a backflow test is required before work begins.
The honest side-by-side
A straight comparison helps because the best choice is not the same for every yard or budget.
| Criteria | DIY installation | Professional installation | Winner for this condition |
|---|---|---|---|
| Up-front cash outlay | Lower labor cost, but material mistakes can add redo expense | Higher total bill because labor and design are included | DIY if budget is tight and the layout is simple |
| Time to finish | Usually several weekends for a first-timer | Often much faster because the crew is set up for trenching and testing | Professional if you need the yard back quickly |
| Design accuracy | Depends on your measuring and planning | Should be stronger if the contractor sizes zones correctly | Professional for odd-shaped or mixed-use yards |
| Code and permit handling | You handle it yourself | Contractor often knows local permit and backflow steps | Professional where local rules are strict |
| Risk of hidden mistakes | Higher if you miss pressure, spacing, or trench depth | Lower when the installer is competent | Professional for costly landscapes |
| Repair and future service | You already know the layout, which helps later repairs | Service may be easier if the company labels zones and leaves a map | DIY for hands-on owners; pro for documented systems |
| Best for | Small, flat, predictable yards | Complex properties and time-sensitive projects | Depends on the site, not the price alone |
| Worst case | Dry spots, leaks, or overspray that takes time to diagnose | A rushed design or poor workmanship that is expensive to fix | Neither if the installer is careless |
The most useful line in that table is the last one: neither choice protects you from bad workmanship. DIY mistakes are self-inflicted; contractor mistakes are paid for. That is why checking references, asking about zone layout, and requesting a written scope matters as much as the option itself. For additional guidance, the Irrigation Association recommends verifying design details before installation and comparing them with local requirements.
How to install a basic system yourself, step by step
DIY is only sensible if you start with a map, a water source plan, and the right parts in hand.
-
Measure the yard and sketch the zones.
Mark turf, beds, trees, slopes, and hardscape. A hand-drawn map is enough if it is accurate. If this step works, you should be able to point to where each zone will go and where the valve box will sit. -
Check pressure and flow before buying parts.
You need to know how much water the supply can deliver. A hose-bib flow test or a contractor’s gauge reading keeps you from overloading a zone. If this step works, you will know whether you need spray heads, rotors, or a mix. -
Choose the head type by area, not by habit.
Small beds often need fixed spray or drip; larger turf areas usually need rotors or rotating nozzles. If this step works, each zone will have similar precipitation needs instead of a patchwork. -
Lay out trench lines and head spacing.
Most problems start here. Head-to-head coverage is the goal; dry strips appear when spacing is too wide. If this step works, the layout should make visual sense before any trenching starts. -
Install pipe, valves, and wiring.
Because the trench plan is established, keep trenches deep enough for local conditions and protect electrical connections in rated boxes. If this step works, the system can be pressure-tested without immediate leaks. -
Test each zone before backfilling.
Run one zone at a time and watch for misting, pooling, and uneven throw. If this step works, each zone should cover its area evenly with no obvious gap or blowout. -
Set the controller and tune runtime.
Program start times, seasonal changes, and zone lengths. If this step works, the system should water long enough to soak in without runoff.
For a basic project, a careful homeowner often needs a full weekend just for planning and another one or two for installation and testing. If that sounds exhausting before the first trench is dug, a professional is the better call. According to the EPA, smart controllers can adjust schedules automatically, which can help reduce overwatering.
What makes a contractor worth hiring?
Hire the contractor who talks about design first and tools second.
A serious installer should be able to explain zone count, pressure loss, head selection, and backflow protection in plain language. If the only sales pitch is “fast install,” that is a sign to ask for more detail. The right person will ask about sun exposure, slope, plant type, and whether you want the lawn or the beds to be the priority.
I would ask for:
- a written scope of work
- the number of zones
- the head type on each zone
- whether drip will be used in planting beds
- who handles permits and backflow compliance
- what the startup and winterization process looks like
- how repairs are billed after the job
This is also where local conditions matter. In frost-prone areas, shallow lines and winter shutdown matter. In dry climates, drip conversion and water-saving scheduling matter. In places with stricter water rules, the contractor should know current municipal requirements rather than guessing. The U.S. EPA WaterSense program is a useful reference point for those decisions.
A bad job usually shows up in the first month: heads spraying sidewalks, uneven green patches, soggy corners, controller settings that do not match the zones, or valve boxes left buried too low. If a contractor cannot explain those risks before the job, I would keep looking.
When the decision flips for a few specific cases
DIY becomes the wrong choice when the job is small but the consequences are big.
Here are the situations where I would reverse the usual recommendation:
-
The property needs a backflow device, inspection, or permit.
If your town requires formal sign-off, hiring a pro can save you from rework and paperwork delays. A $0 mistake on paper can still cost a lot in labor and time. -
The yard has slopes or runoff risks.
Even a moderate grade can send water into a driveway or foundation if zones are not planned correctly. A contractor who understands precipitation rate and cycle-and-soak scheduling is worth it here. -
There is already an old system underground.
Existing pipe can hide cracks, abandoned heads, or mixed materials. A professional can usually troubleshoot faster than a first-timer who is opening the ground one trench at a time. -
The owner cannot afford a learning curve.
If the budget can handle labor but not failed sod, plant loss, or repeated leaks, the safer decision is professional installation.
The reverse is also true: if the yard is flat, the layout is simple, and you are comfortable with a few weekends of labor, DIY can save money without much risk. For a simple yard, the American Society of Irrigation Consultants also recommends matching the system to the site rather than forcing one design onto every property.
The verdict: which one I would choose
Choose DIY if the yard is small, flat, simple to map, and you are ready to spend a few weekends measuring, trenching, testing, and fixing mistakes. Choose a professional if the property is larger, sloped, code-sensitive, or expensive to repair if the system is wrong the first time. Neither if you are hoping to “figure it out as you go” on a complicated lot.
That is the plain answer I would give a homeowner deciding who to call: DIY is a cost-saving project for a controlled site; professional installation is a risk-reducing purchase for a messy one. In 2024, that tradeoff is often clearer than the sticker price.
What I would ask before spending a dollar
I would ask three questions before choosing either path: how many zones does the property really need, what local permit or backflow rules apply, and how much damage would a bad layout cause?
The answers decide more than the price tag does. A small system can be a sensible DIY job at one home and a bad idea at the next because of slope, soil, or municipal rules. I would also ask for a rough time estimate from a contractor or, if going DIY, from myself after mapping the yard. If the plan starts sounding like “maybe a Saturday,” the job is probably not as simple as it looks. For budgeting, the Irrigation Association and WaterSense both emphasize planning before purchase.
FAQ
How much time does DIY irrigation usually take?
A basic system often takes several weekends once layout, trenching, testing, and cleanup are included. Larger or more complex yards can take longer, especially if you are learning as you go.
Drafted with AI; not yet reviewed by a person.