Last updated: October 11, 2026
Key Takeaways
- A professional sprinkler installation covers design, trenching, piping, heads, valves, a controller, and calibration.
- Most sprinkler installations take 1 to 3 working days, and the yard will look disturbed during that time.
- A sprinkler installation usually costs more when the yard is larger, the design is more complex, or the plumbing tie-in is harder to reach.
- Prepare by clearing access, protecting fragile areas, and flagging anything the crew should avoid.
A professional sprinkler installation is usually a 1- to 3-day project that starts with layout, moves through trenching and pipe work, and ends with testing, adjustment, and cleanup. If you want a clear picture before you hire someone, What to Expect During a Professional Sprinkler Installation comes down to a few basics: what will the crew do, how much disruption should you expect, and what does a good install look like when it’s finished?
Quick Answer: most professional sprinkler installation jobs take 1 to 3 working days and involve 2 to 4 zones on a small yard, with larger properties taking longer. If you want to understand What to Expect During a Professional Sprinkler Installation, the key variables are yard size, zone count, and access.
I’m going to answer that plainly, because this is the part most homeowners want before they call three contractors and start comparing bids. The right job should fit your yard, your water supply, and your local conditions—not just a generic price sheet.
What a professional sprinkler installation actually includes
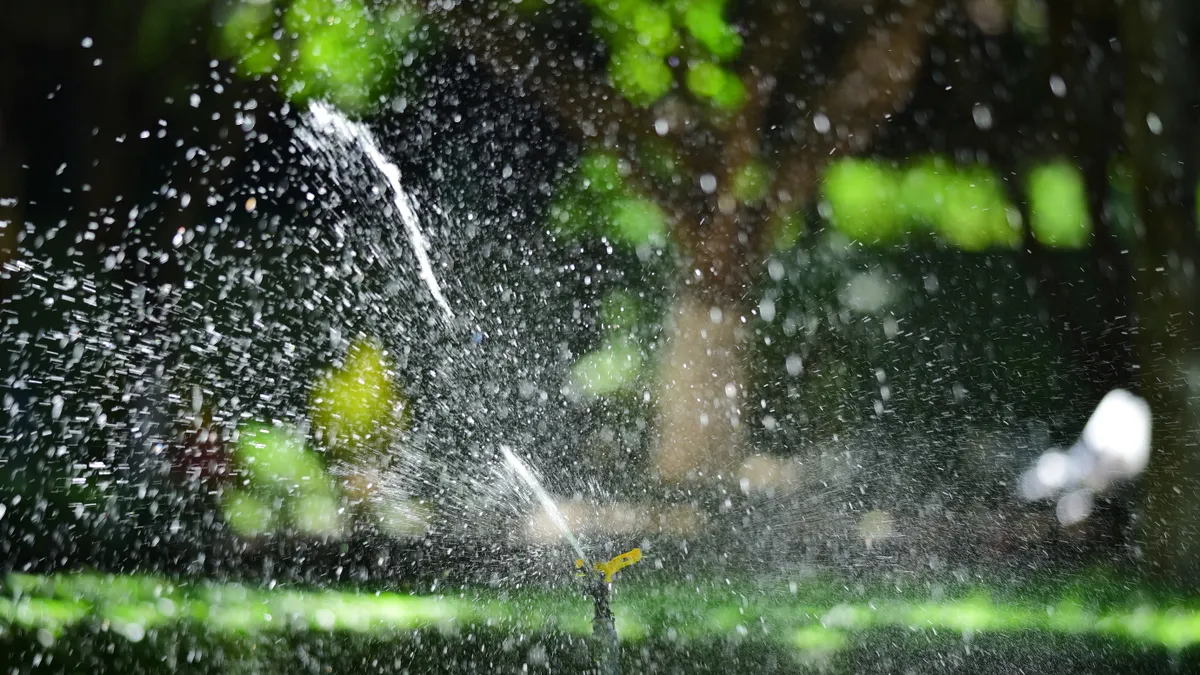
A professional sprinkler installation includes design, trenching, piping, heads, valves, a controller, and final calibration. Most crews also include a startup test and a walk-through that shows you which zone covers which part of the yard.
The job usually starts before the first shovel hits the ground. A contractor should map the property, note slopes, flower beds, sidewalk edges, tree roots, and the location of the meter or tie-in point. That plan determines how many zones you need and whether the system uses spray heads, rotor heads, drip lines, or a mix. A small front yard may only need 2 to 4 zones; larger or more complicated properties often need more because different areas need different amounts of runoff and coverage.
From there, the crew marks the trench lines and digs narrow trenches, often around 6 to 12 inches deep for many residential systems, though local frost depth and site conditions can change that. Pipes are laid, fittings are glued or connected, valves are set in a valve box, and heads are placed so they sit at grade. Then the contractor ties the system into the water supply, installs the controller, and programs the watering schedule.
What many generic articles miss is this: a sprinkler install is partly plumbing, partly hydraulics, and partly site judgment. The “best” layout is not the one with the most heads. It is the one that gives head-to-head coverage where needed, avoids overspray onto pavement, and keeps pressure within the limits of the components the contractor chooses.
A bad layout can look fine on paper and still waste water. That is why I would ask how the contractor sizes zones and chooses nozzle types, not just what brand of controller they use. For irrigation standards and scheduling basics, the Irrigation Association is a useful starting point, and many local extension services publish region-specific guidance.
How long the work takes and what your yard will look like
Most sprinkler installations take 1 to 3 working days, and the yard will look disturbed during that time. On larger or more complex properties, the job can stretch longer, especially if the crew has to work around hardscape, existing landscaping, or utility conflicts.
The first visible phase is marking and digging. Expect paint lines or flags on the lawn before digging starts. Crews often try to keep trenches narrow, but there will still be cut turf, piles of soil, and a fair amount of foot traffic. If the property has newly installed sod, dense roots, or a lot of stone, the work slows down.
The second phase is mechanical installation. This is when you’ll see pipe laid out, heads assembled, and the controller mounted indoors or in a garage, depending on the setup. If a separate backflow prevention assembly is required in your area, that adds another layer of plumbing work and sometimes an inspection step.
The final phase should be the quietest but the most revealing. The technician runs each zone, checks for leaks, adjusts head alignment, and fine-tunes spray patterns so they do not hit the house, fence, or driveway. I would expect at least one full walk-through with the contractor while the system is running. That is the moment to point out dry spots or overspray.
A good crew restores the lawn as much as the installation allows, but “restored” does not mean untouched. You may see disturbed edges or loose soil for a short period. If the contractor promises zero visible impact, I would treat that as a sales line unless a local professional can confirm the site really allows it.
For timing, weather matters. Saturated ground slows trenching. Frozen ground can delay everything. In hot, dry conditions, a new lawn patch may need extra attention after the work is done.
What does a sprinkler installation usually cost?
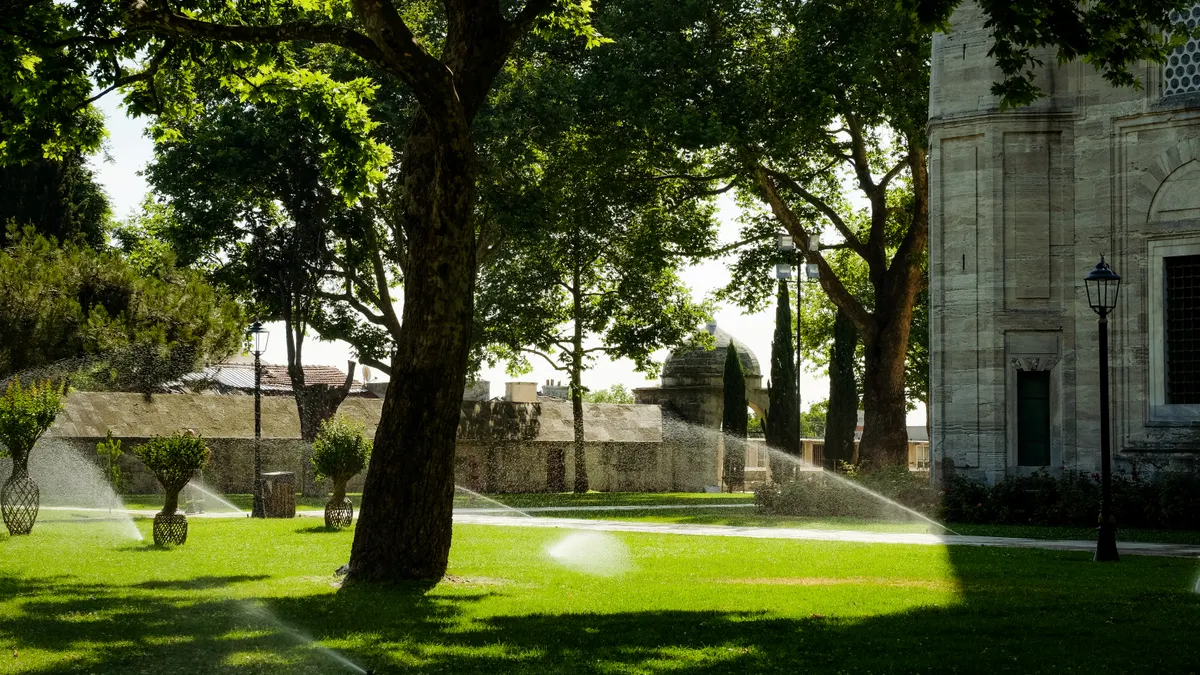
A sprinkler installation usually costs more when the yard is larger, the design is more complex, or the plumbing tie-in is harder to reach. Exact pricing varies too much by region to give a number that means the same thing everywhere, but the biggest price drivers are zone count, labor time, materials, and any add-ons such as backflow protection or smart controls.
The first cost driver is layout complexity. A flat, open lawn with a simple rectangle is faster to install than a property with curves, slopes, narrow side yards, and many planting beds. More zones mean more valves, more pipe, more labor, and more programming time. Head type matters too: rotors, sprays, and drip lines are not interchangeable, and mixed systems require more planning.
The second driver is access. A backyard that can be reached easily with digging equipment costs less to work on than one with tight gates, retaining walls, or delicate landscaping. If the contractor has to hand-dig near tree roots or existing utilities, labor time goes up.
The third driver is system quality. A basic system may use standard components and a simple timer. A better-built system may include a weather-based smart controller, matched nozzles, and a better valve layout. Those choices raise the price, but they can also reduce uneven coverage and wasted runoff.
I would be wary of a quote that is only a single lump sum with no mention of number of zones, controller type, or what is included after installation. A useful estimate usually separates labor, materials, optional upgrades, and any permit or inspection costs if those apply locally.
One honest trade-off: a lower bid can be fine for a small, uncomplicated yard, but it is often the wrong fit for a property with uneven pressure, steep grades, or mixed sun exposure. In those cases, I would pay more for a design that looks engineered, not just installed. According to the U.S. Environmental Protection Agency, irrigation systems that are not designed or maintained well can waste a significant amount of water, which is one reason careful setup matters.
How do I prepare my property before the crew arrives?
You prepare by clearing access, protecting fragile areas, and making sure the contractor can identify what should not be disturbed. That usually takes less than an hour, but it saves a lot of confusion once digging starts.
Here is the basic sequence I’d follow:
- Move outdoor furniture, planters, toys, and hoses out of the work path so the crew can carry pipe and tools without obstacles. A clear 3- to 4-foot path is usually enough for most residential work.
- Mark the areas you care about most, such as new shrubs, buried lighting, or decorative stone, so the contractor knows where to be extra careful. Bright flagging tape works better than verbal instructions alone.
- Identify irrigation-related access points, especially the water meter, shutoff valve, or the spot where the system will connect to the house line. If you know where the main shutoff is, share it before the first trench is opened.
- Keep pets indoors and plan for gate access. A surprised dog or an unlocked side yard can slow the crew and create a safety problem around open trenches and tools.
- Ask where vehicles should park and where the soil piles will go. In many cases, the driveway is the safest staging area, but every site is different.
- If the yard has recent landscaping, let the contractor know which areas are newly seeded, freshly sodded, or vulnerable to compaction so they can adjust the route or digging method.
The most useful thing you can do is answer questions quickly on the morning of the job. A crew can work around a lot, but only if the owner is reachable or has already pointed out the site constraints.
What not to do: do not run your own garden tools or water features during the install unless the contractor says it is fine. That sounds obvious, but it is the kind of small interference that creates avoidable delays.
How do I know the system was installed correctly?
A system was installed correctly if each zone covers its area evenly, the heads are aligned, the controller is labeled clearly, and there are no leaks, dead spots, or spray hitting hard surfaces. Those are the basics that matter on day one and 6 months later.
I would check four things during the final walk-through. First, coverage: the water should reach head to head where the design calls for it, and no section should be obviously dry while the surrounding area is soaked. Second, alignment: spray should stay on the lawn or planting bed, not drift onto sidewalks, siding, or windows. Third, pressure behavior: heads should rise fully and retract cleanly, without sputtering or pulsing. Fourth, labeling: every zone on the controller should be marked in a way you can understand later.
Common mistakes usually show up fast. Heads set too low get buried by soil or mulch and stop working well. Heads set too high get damaged by mowers. Nozzle choices that do not match the area create runoff on slopes or puddling in low spots. A zone that is too large for the available pressure may look weak even if every part is technically connected.
A good contractor should also show you how to make small adjustments. I would expect a short demonstration of the controller, seasonal schedule changes, and how to shut the system off if a leak appears. If the crew leaves without explaining the zones, that is a warning sign. A homeowner should not have to guess which line controls the back bed and which one feeds the side lawn.
This is also where you should ask about winterization if you live in a freezing climate. In places with cold winters, compressed-air blowout or another drain-down method may be needed before hard freezes arrive. That is not an optional detail; it is part of protecting the system.
What should I ask before I hire someone?
You should ask about design, materials, warranty terms, and what is included after installation. Those questions tell you more than a polished sales pitch ever will.
Here are the questions I would put on the list:
- How many zones do you expect, and why?
- What controller model or type will you install?
- Will the system include backflow protection if my local code requires it?
- How do you handle slopes, narrow strips, or mixed lawn-and-bed areas?
- What happens if a head leaks or a zone does not perform as planned after the first run?
- Is the quote for labor and materials both, or are there likely add-ons?
- Do you provide startup and shutdown service for the first season?
The answers should be specific enough that you can compare one bid to another. “Quality parts” is not a useful answer. Neither is “standard coverage.” A contractor who knows irrigation should be able to explain why one area needs rotors and another needs spray or drip, and how they will keep the system from overwatering pavement.
I would also ask how they handle changes after digging starts. Hidden rock, unexpected utility lines, and poor soil can force a layout change. A good installer has a process for that. A weak one improvises without telling you what changed.
Who this is not for: if you want a one-size-fits-all quote without discussing the site, the install may look cheaper at the start and cost more in repairs or wasted water later. Irrigation is one of those trades where the cheapest estimate can be the most expensive decision.
For background on irrigation design and scheduling, the Irrigation Association’s resources are worth reading, and many local extension services publish region-specific guidance for watering lawns and landscapes. Those sources are helpful because climate and soil type change the answer from one area to another.
What happens after the install is finished?
After the install is finished, the system should be run, adjusted, and then checked again after the first few days of use. The first week matters because small problems often show up only after the soil settles and the heads have run through a full cycle.
Expect the contractor to leave you with a basic operating explanation. That should include how to turn zones on and off, how to change a schedule, and how to pause watering after rain if your controller allows it. If the controller is a smart model, ask how it uses local weather data and whether you still need to review seasonal changes manually.
The lawn may need a little recovery time where trenches crossed the yard. Light settling is normal. Deep ruts, recurring puddles, or heads that vanish under mulch are not normal and should be fixed quickly. I would also watch for any area that dries out faster than the rest once the system has had a chance to run for several days. That can point to nozzle mismatch, low pressure, or an unbalanced zone.
If the contractor offers a follow-up visit, that is useful. The first adjustment round is often where the system goes from “installed” to actually performing well. That may mean changing run times by 5 to 10 minutes, replacing a nozzle, or re-aiming a spray head by a few degrees.
A professional sprinkler installation should end with a system you can explain in plain language. If you can name the zones, shut it off, and understand what each part of the yard is getting, the job is probably in good shape. The EPA notes that a properly maintained irrigation controller and seasonal adjustment can reduce unnecessary watering.
FAQ
How disruptive is sprinkler installation to the lawn?
It is moderately disruptive, because trenching cuts through turf and leaves soil piles behind. Most yards recover with time, but expect visible disturbance for at least several days.
Do I need a permit for sprinkler installation?
Sometimes, yes, depending on local rules and whether the job involves backflow prevention or a new tie-in. A contractor who works in your area should know what applies.
Can an old yard handle a new sprinkler system?
Usually yes, but mature trees, roots, and settled hardscape can make the job slower and more expensive. Older properties often need more hand-digging and more careful routing.
What makes one sprinkler quote better than another?
The better quote explains the number of zones, the materials, the controller, and what is included after install. Vague pricing is harder to trust.
How long before I can use the system normally?
Often right away, but the first few days are for observation and adjustment. You should plan for minor tweaks after the initial runs.
Drafted with AI; not yet reviewed by a person.